
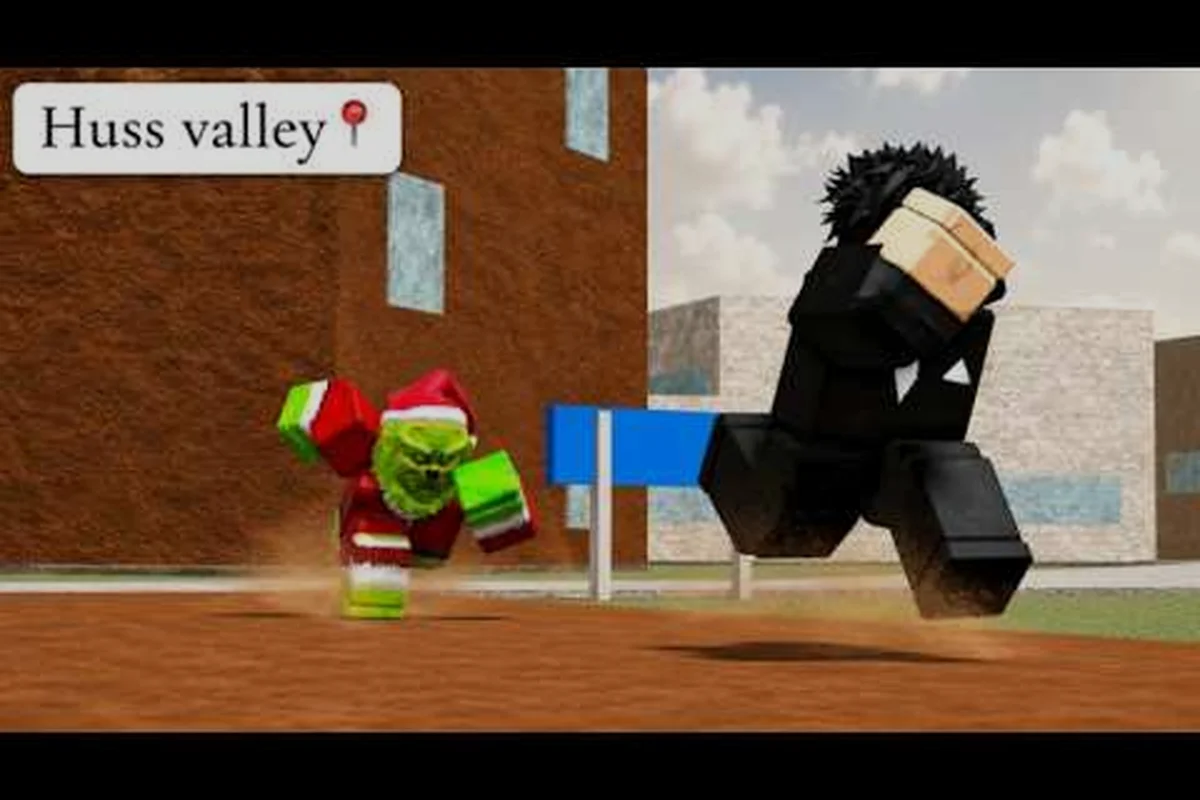
Every round in Escape Huss Valley begins the same way: you spawn somewhere in Folk Valley, the timer starts ticking, and you have seconds to decide which way to run before the monsters close in. The difference between a clean escape and an early restart comes down to knowing the fastest escape routes before panic sets in. This escape route guide breaks down the rooftop paths, alleyway shortcuts, and parkour spots that separate players who survive consistently from those who get caught in the open.
The official Roblox page describes Folk Valley as "a niche city in THE most dangerous location in the world," and that danger is exactly why route knowledge matters more than raw sprint speed. While the game itself keeps its map unlabeled, community testing has mapped out the key landmarks, the Huss Town Square hub, and the chokepoints where monsters tend to patrol. Understanding the layout of Huss Town gives you a massive advantage because you stop reacting to threats and start planning your path before the chase even begins.
Reading the Folk Valley Map Like a Local
The Folk Valley map is a single open city environment rather than a series of disconnected arenas, which means every escape route connects through shared streets, rooftops, and alleyways. According to the official Escape Huss Valley game page, the map centers on Huss Town Square, where the Huss Shop lets players spend cash coins on upgrades and cosmetics. Everything else in the city radiates outward from that hub, which makes the square both a safe reference point and a dangerous gathering spot when monsters spawn nearby.
The map can be divided into four distinct zones that matter for route planning. The Huss Town Square sits at the center and offers the widest sightlines, making it easy to spot threats but also leaving you exposed. The Market Alley network branches off the square to the east and west, with narrow passages that block line of sight but create tight corners. The Rooftop Network spans the northern district, where connected buildings let you bypass ground-level patrols entirely. Finally, the Riverside Perimeter wraps around the southern edge with fewer obstacles but longer sightlines that make hiding difficult.
Landmarks That Anchor a Good Escape Line
| Landmark | Zone | Route Value | Risk Level |
|---|---|---|---|
| Huss Town Square | Center | Orientation hub, shop access | High exposure |
| Market Alley East | East district | Tight corners, break line of sight | Medium |
| Warehouse Rooftops | North district | Elevated paths, avoid ground patrols | Low-medium |
| Riverside Path | South perimeter | Long straightaways, speed runs | Medium-high |
| Clock Tower Base | Northwest | Vertical shortcut to rooftops | Medium |
The Clock Tower Base is one of the most valuable landmarks on the map because it provides the easiest transition from ground level to the rooftop network. Community reports indicate that the climb takes roughly three seconds when you hit the jump correctly, which is fast enough to escape most mid-range chases. The Warehouse Rooftops connect to the Clock Tower through a series of flat jumps that require no advanced movement tech, making them accessible even to players who have not mastered the parkour system yet.
For a deeper breakdown of every named location and the Huss Shop position, the Folk Valley map guide covers each zone in detail with spawn points and landmark coordinates.
Mastering the Rooftop Route for High-Value Escapes
The rooftop route is the most reliable escape path in Escape Huss Valley because it removes you from the ground-level patrol patterns that most monsters follow. When you climb onto the Warehouse Rooftops, you gain a massive visibility advantage while simultaneously cutting off most chase lines, since the monster AI struggles with vertical transitions. This makes the rooftop network the preferred path for players who want to survive longer rounds without burning through their stamina reserves.
The full rooftop route follows a predictable sequence that becomes second nature after a few runs. Start at the Clock Tower Base and make the jump to the first warehouse ledge, then follow the connected rooftops eastward toward the Water Tower Platform. From there, drop down to the Alley Bridge that crosses Market Alley East, which lets you transition back to ground level in a controlled position. The entire route takes roughly 20 seconds of sprinting with two short pauses to line up jumps, making it faster than most ground-level alternatives.
Rooftop Jump Difficulty Breakdown
| Jump Segment | Difficulty | Stamina Cost | Failure Consequence |
|---|---|---|---|
| Clock Tower to Warehouse | Easy | Low | Fall to ground, minor stun |
| Warehouse to Water Tower | Medium | Medium | Land in alley, lose rooftop access |
| Water Tower to Alley Bridge | Hard | High | Fall into Market Alley, high exposure |
| Alley Bridge to Ground | Easy | Low | Safe landing, controlled position |
The Water Tower to Alley Bridge jump is the only genuinely difficult segment in the standard rooftop route, and it is worth practicing in a low-pressure round before relying on it during a chase. Community testing suggests that you need to jump slightly earlier than intuition dictates because the tower platform has a small lip that can catch your feet and stop your forward momentum. Once you clear that lip, the bridge landing is forgiving because the alley below is narrow enough to prevent a long fall.
Players who want to push the rooftop route further should explore the Chimney Chain that extends past the Water Tower into the northern residential block. This extension adds roughly 10 seconds to the route but keeps you elevated for longer, which is valuable when monsters are patrolling the streets below. The parkour guide covers the movement fundamentals and keybind optimization needed to chain these jumps consistently without losing speed.
Navigating the Alleyway Route for Stealth and Speed
The alleyway route serves a completely different purpose than the rooftop path because it prioritizes stealth and line-of-sight breaking over elevation. When you duck into the Market Alley network, you trade the safety of height for the protection of tight corners and obstructed sightlines. Monsters in Escape Huss Valley rely on visual detection, so breaking line of sight even briefly resets their tracking and gives you precious seconds to reposition.
The Market Alley East corridor is the most reliable alleyway path because it connects directly to Huss Town Square while offering multiple side passages that let you double back if a monster enters from either end. The Backlot Cut branches off the main corridor and leads to a hidden courtyard that community reports suggest is one of the safest hiding spots on the map. The Dumpster Lane runs parallel to the Backlot Cut but features a dead end, which makes it a trap unless you use it specifically to bait monsters into wasting time.
Alleyway Route Comparison
| Alley Path | Length | Hiding Spots | Best Use Case |
|---|---|---|---|
| Market Alley East | Medium | 4 covered corners | Main escape corridor |
| Backlot Cut | Short | 2 courtyard spots | Emergency hideout |
| Dumpster Lane | Short | 1 dead-end corner | Monster baiting |
| Sewer Access | Long | 3 dark corners | Extended stealth route |
The Sewer Access path is the longest alleyway route and the least known among new players, which makes it valuable when you need to disappear for an extended period. Community data indicates that the sewer entrance sits behind the Fish Market Stall in Market Alley West, and the path itself runs beneath the Warehouse District before emerging near the Riverside Perimeter. The tradeoff is that the sewer has limited exit points, so you need to know exactly where you are going before you drop in.
The alleyway route pairs well with the rooftop route because you can use one to escape and the other to reposition. A common strategy reported by experienced players is to start on the rooftops, drop into Market Alley East through the Alley Bridge, then use the Backlot Cut to hide while the monster patrol passes. This combination gives you both the speed of elevated travel and the stealth of ground-level cover, which is why the hidden locations guide recommends learning both paths before attempting late-game rounds.
Parkour Spots That Create Escape Opportunities
The parkour spots scattered across Folk Valley are the difference-makers in tight situations because they let you access routes that other players cannot reach. While the core movement system is simple, the map contains several specific jump sequences that open up shortcuts and safe zones. Learning these spots transforms your escape route guide from a basic path list into a flexible toolkit that adapts to any chase scenario.
The Balcony Chain in the residential district is the most practical parkour spot for new players because it requires only basic jumps and offers a clear payoff. The chain connects three apartment balconies in sequence, letting you bypass a ground-level street that frequently has two monsters patrolling simultaneously. The Fire Escape Loop in the Warehouse District is slightly more advanced, requiring a wall jump onto a lowered platform before climbing to the rooftop level.
Essential Parkour Spots by Difficulty
| Parkour Spot | Location | Difficulty | Escape Value |
|---|---|---|---|
| Balcony Chain | Residential district | Easy | Bypass double patrol zone |
| Fire Escape Loop | Warehouse District | Medium | Rooftop access alternative |
| Billboard Hop | Market Alley West | Medium | Elevated hiding position |
| Crane Swing | North construction site | Hard | Long-distance rooftop transfer |
| Window Ledge Run | Huss Town Square edge | Hard | Quick vertical escape |
The Billboard Hop is one of the most underrated parkour spots because it creates a hiding position that most monsters cannot detect. The billboard sits above Market Alley West, and reaching it requires a jump from the Fish Market Stall roof onto the billboard support beam, then a second jump onto the billboard face itself. Community reports indicate that monsters do not path onto the billboard, making it a reliable spot to wait out a patrol cycle.
The Crane Swing is the most advanced parkour spot on the map and the one that opens up the fastest cross-map route currently known. The crane sits at the north construction site, and the swing requires you to jump from the Concrete Barrier onto the crane hook, then release at the apex to land on the far warehouse roof. This spot is risky because a mistimed release sends you into the construction pit below, but the time savings are substantial enough that speed-focused players consider it essential.
Building Your Personal Escape Route Plan
The best escape route guide is the one you build around your own strengths, because the optimal path depends on your comfort with jumps, your stamina management, and your ability to read monster patrol patterns. A player who struggles with vertical jumps will get more value from mastering the alleyway routes, while a player with strong movement fundamentals should prioritize the rooftop network. The key is to have at least two reliable routes memorized so you can adapt when monsters block your primary path.
Start by practicing the Balcony Chain and Market Alley East route until you can complete both without thinking, then add the Rooftop Route once those feel comfortable. The progression matters because each route builds on the previous one's skills: the alleyway route teaches you line-of-sight management, the balcony chain teaches you basic jump timing, and the rooftop route combines both into a single fast escape path.
Route Selection Decision Framework
| Situation | Recommended Route | Why It Works |
|---|---|---|
| Monster behind you, open street ahead | Rooftop Route | Elevation breaks chase line |
| Multiple monsters patrolling ground level | Alleyway Route | Tight corners block detection |
| Low stamina, need quick reposition | Balcony Chain | Short jumps, minimal sprint |
| Late round, multiple threats active | Sewer Access | Extended stealth window |
| Speed run, clear sightlines | Riverside Perimeter | Long straightaways, no obstacles |
The Riverside Perimeter route deserves special attention because it is the fastest ground-level path but also the most dangerous. The long straightaways let you maintain top sprint speed without jumping, but they also give monsters clear sightlines from both directions. This route works best when you have a stamina advantage and know the monster spawn timings, because you can outrun a chase before the monsters have time to converge.
Your escape route plan should also account for the round timer, since the monster behavior changes as rounds progress. Community testing suggests that monsters become more aggressive and patrol wider areas in later rounds, which means routes that work in round one may need adjustment by round five. The best spots guide covers the safe zones that remain viable in late-game scenarios when the monster density increases.
Frequently Asked Questions
What is the fastest escape route in Escape Huss Valley?
The rooftop route through the Warehouse District is the fastest known escape path, taking roughly 20 seconds from the Clock Tower Base to the Alley Bridge. The Crane Swing parkour spot offers an even faster cross-map transfer, but its difficulty makes it unreliable during high-pressure chases.
How do I break line of sight with monsters?
Monsters in Escape Huss Valley rely on visual detection, so breaking line of sight resets their tracking. The alleyway routes are designed for this, with tight corners and covered passages that block monster vision. The Backlot Cut courtyard is one of the most reliable spots because monsters do not path into it.
Are rooftop routes safe from all monsters?
No, rooftop routes are not completely safe because some monsters can climb or jump to elevated positions. The standard rooftop route through the Warehouse District avoids most patrol patterns, but you still need to watch for monsters that spawn on adjacent rooftops. The Billboard Hop is the only parkour spot that community reports suggest is completely safe from monster detection.
What should I learn first: rooftop or alleyway routes?
Start with the alleyway routes because they teach line-of-sight management and require no advanced jump timing. Once you can navigate Market Alley East and the Backlot Cut comfortably, move to the Balcony Chain and then the full rooftop route. This progression builds skills in the right order.
How many escape routes should I memorize?
Memorize three routes minimum—one rooftop, one alleyway, and one ground-level path like the Riverside Perimeter, which needs no jumps. When the round timer tightens, the rooftop route is your fastest exit across Folk Valley, but only if you've practiced the parkour spots that create escape opportunities.